7 Paired Tailoring Tips for Plus-Size Button-Front Shirts
9 October 2026 · 4 min read · 7 ideas
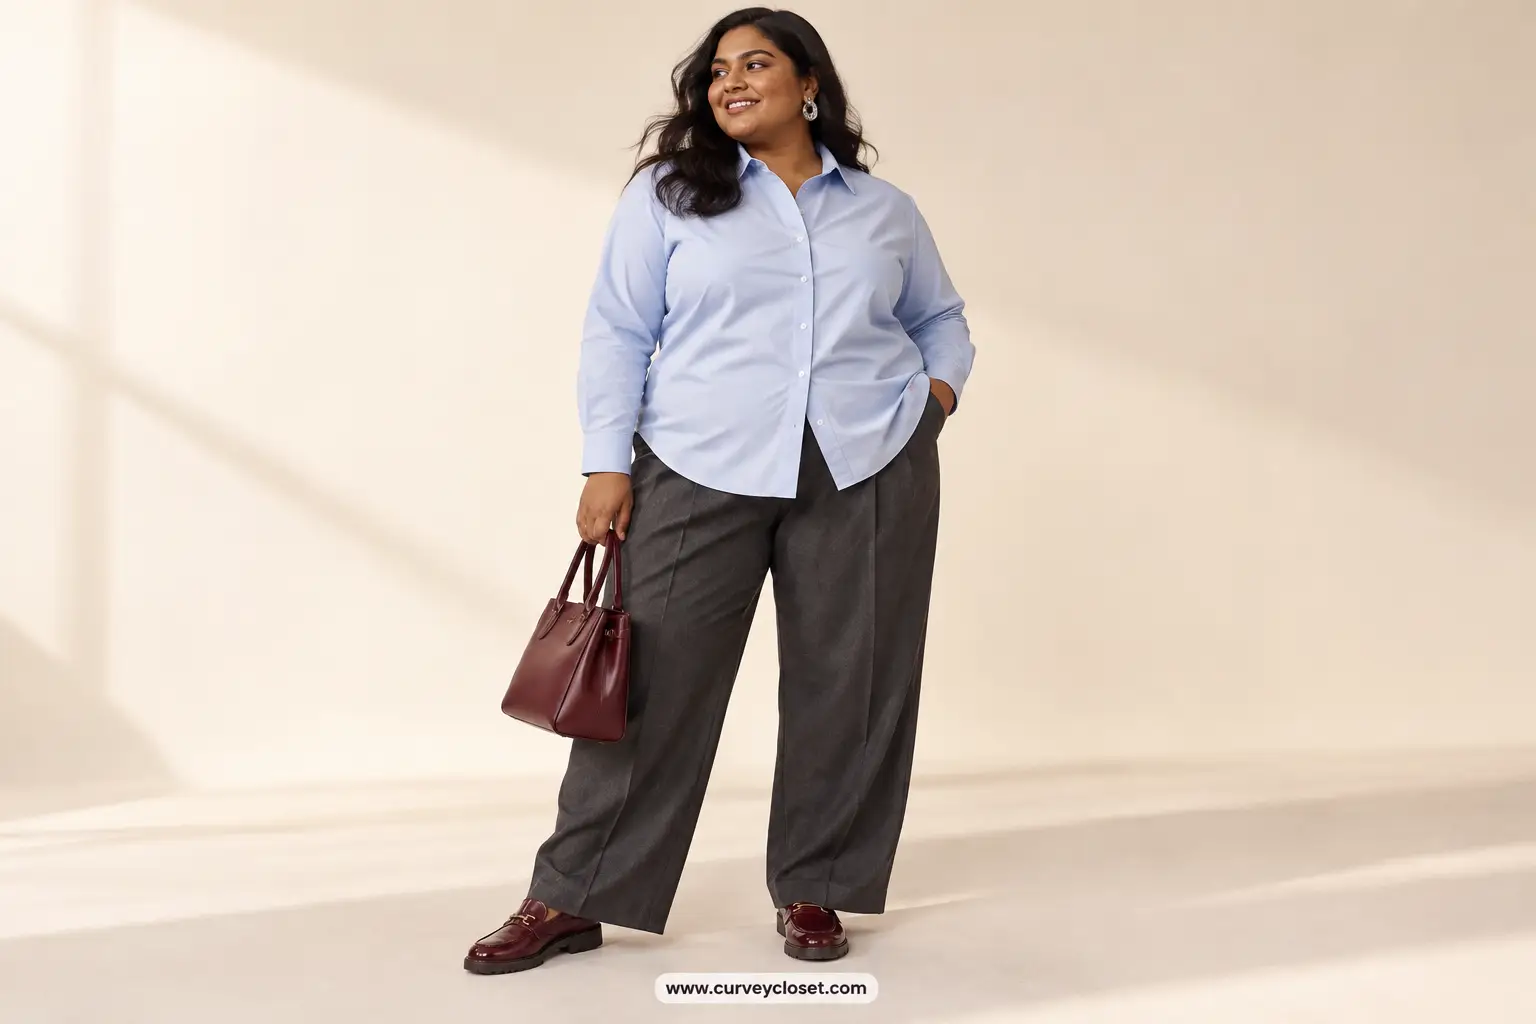
A great button-front shirt should let you reach, sit and get on with your day comfortably. These tailoring tips focus on making the garment work for your body—not asking your body to work around the garment.
Each paired do and don't tackles one practical detail, from bust ease to comfortable cuffs. Use them in the fitting room or take them to an alterations appointment, wearing the underwear you plan to wear with your shirt.
1.Bust-Ease Tailoring Tips: Check the Closed Placket
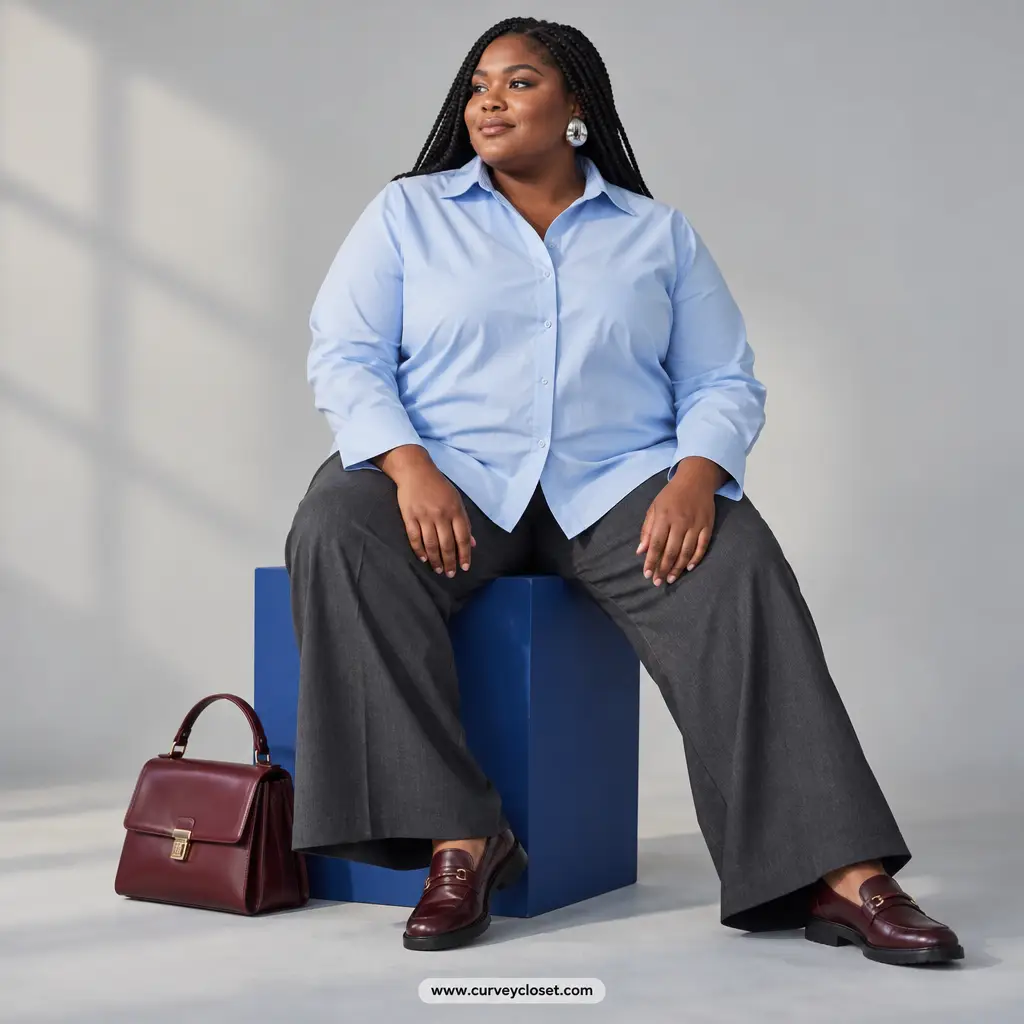
Do: Button the shirt and check that the placket rests comfortably while you sit, breathe deeply and reach forward. Don't: Size down for a neater appearance or rely on an extra fastening to solve insufficient bust room.
Pulling between buttons usually signals that the shirt needs more room or different shaping. Try another size or cut before paying for alterations; adding width is limited by the available seam allowance. If the shirt already has enough ease but opens between widely spaced buttons, a tailor can assess a discreet additional fastening.
How to wear it: Wear the shirt with your usual bra and sit down with every intended button fastened before judging its fit.
2.Shoulder-Fit Tailoring Tips: Respect the Shirt's Cut
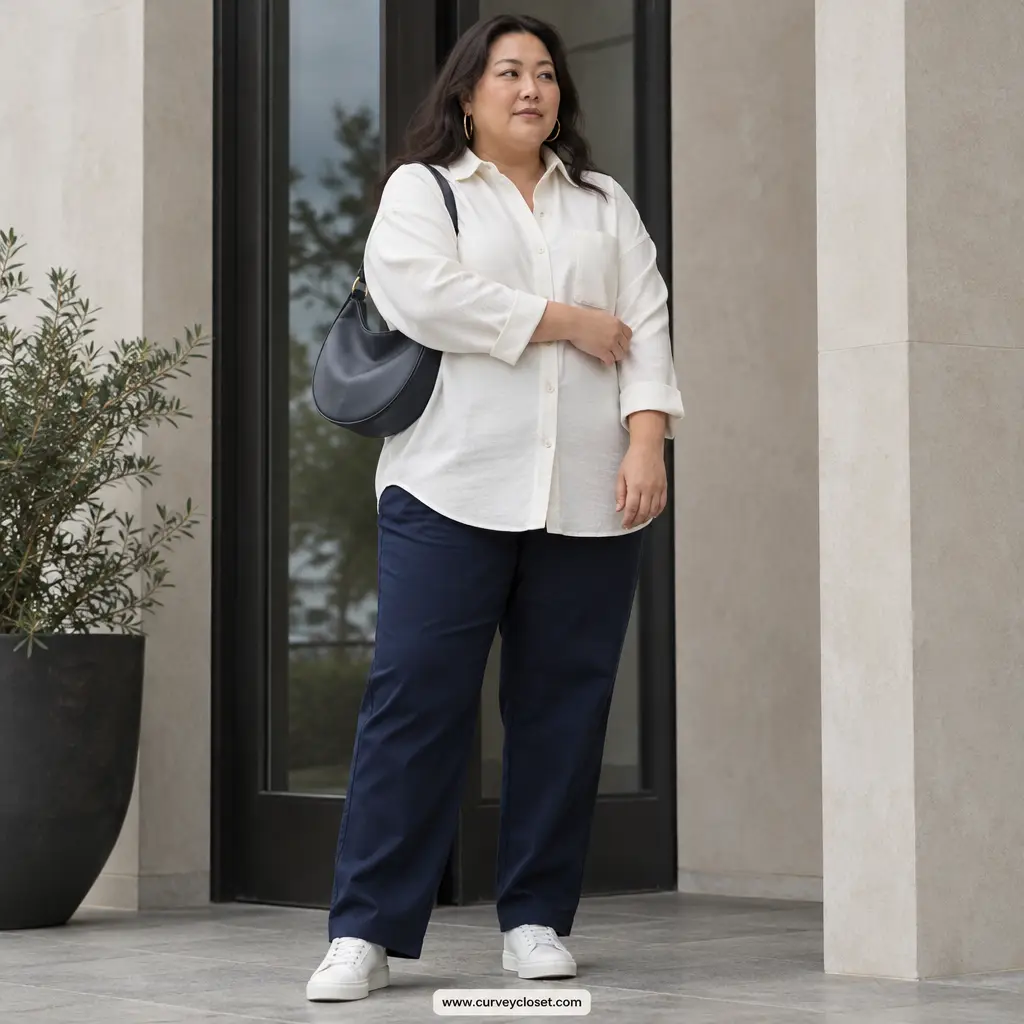
Do: For a conventional set-in sleeve, check that the shoulder seam sits near your shoulder edge and movement feels easy. Don't: Treat an intentional dropped shoulder as a fitting fault or assume shoulder alterations are always straightforward.
Shoulder position affects the sleeve and armhole together, so changing it can require substantial reconstruction. Raise your arms, reach across your body and notice any restriction across the upper back. If a structured shirt pulls there, compare cuts rather than judging by the seam alone. Bring reference photos if you want to preserve an oversized silhouette.
How to wear it: Pair an intentionally dropped-shoulder shirt with straight-leg trousers and keep its relaxed sleeve shape intact.
3.Shaping: Pin Darts Without Taking Away Ease
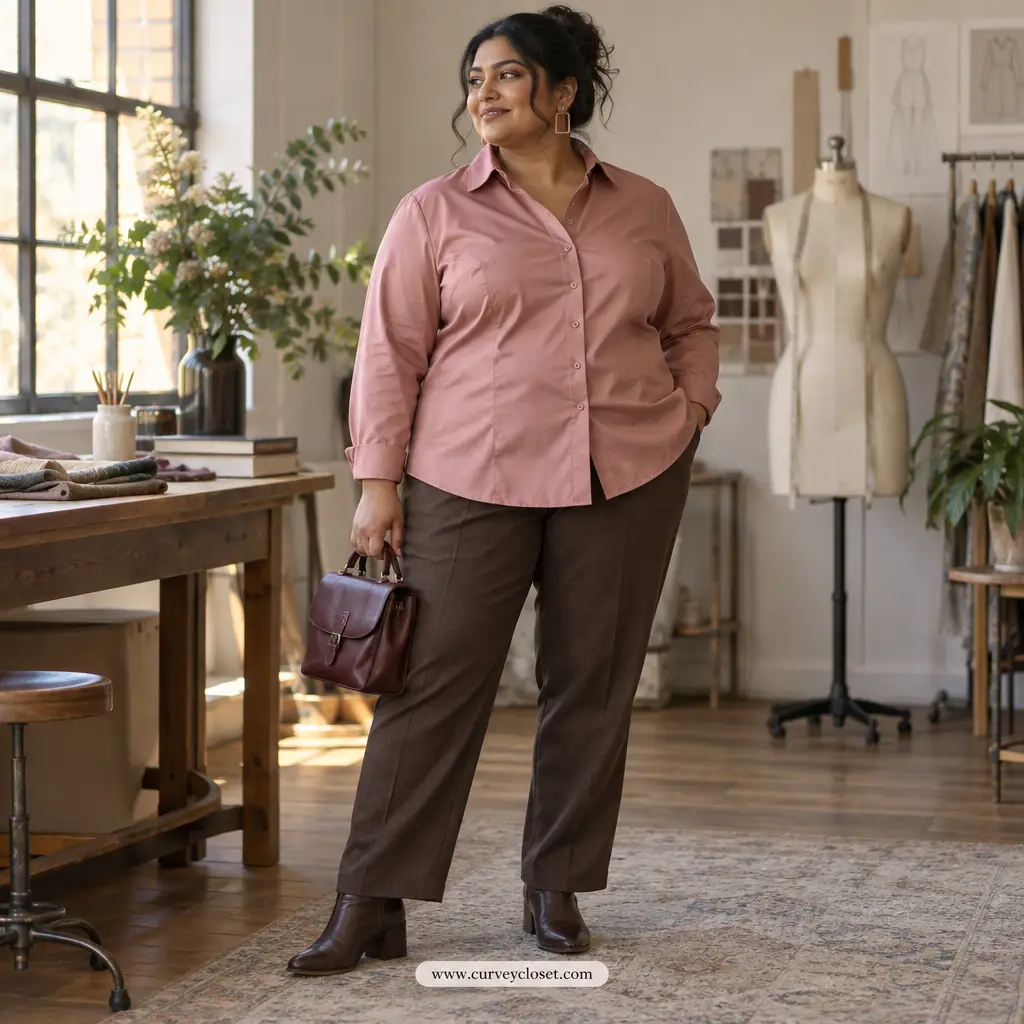
Do: Ask your tailor to pin proposed bust-dart or side-seam changes while you wear the shirt, then test them sitting down. Don't: Approve deeper darts or a tightly nipped waist simply because they are standard alterations.
Darts can help fabric follow the bust, but their position matters as much as their depth. A dart should point towards the bust's fullest area without ending directly on it. Existing darts may leave visible stitch marks if moved, depending on the fabric. Keep whichever straight, gently shaped or roomy silhouette you actually enjoy wearing.
How to wear it: Bring your preferred trousers to the fitting so you can check the pinned shirt both tucked and untucked.
4.Upper Sleeves: Leave Room to Reach
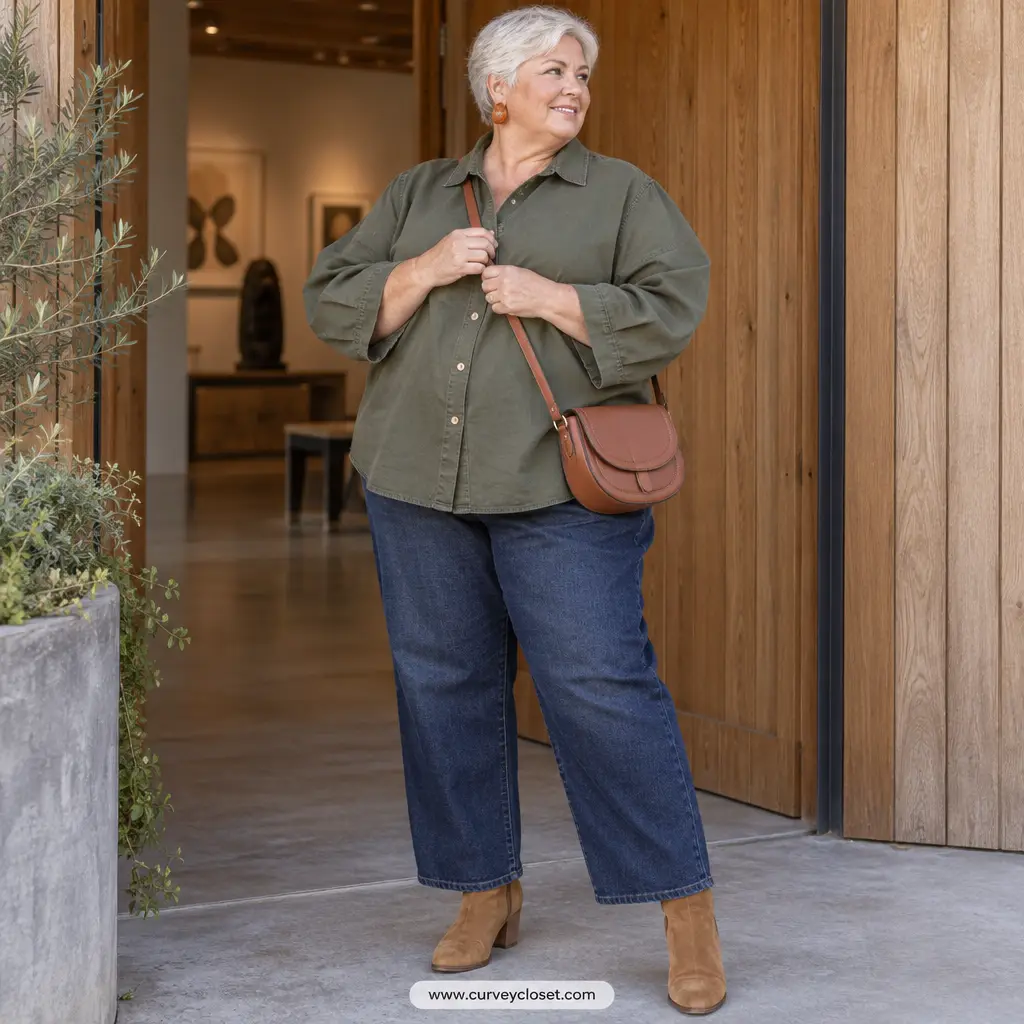
Do: Test upper-arm room by bending your elbows, reaching forward and lifting your hands to shoulder height. Don't: Narrow the sleeves until they look smooth only when your arms hang still.
A comfortable sleeve needs space for movement, especially in woven fabric without stretch. Tightness may come from sleeve width, armhole shape or restricted room across the back, so ask a tailor to identify the cause before changing one seam. Letting out a sleeve is only possible when construction and seam allowances permit it; another shirt cut may be the simpler solution.
How to wear it: Try the shirt under your usual jacket and reach forward to check that both layers allow comfortable movement.
5.Cuffs: Fit the Wrist in Motion
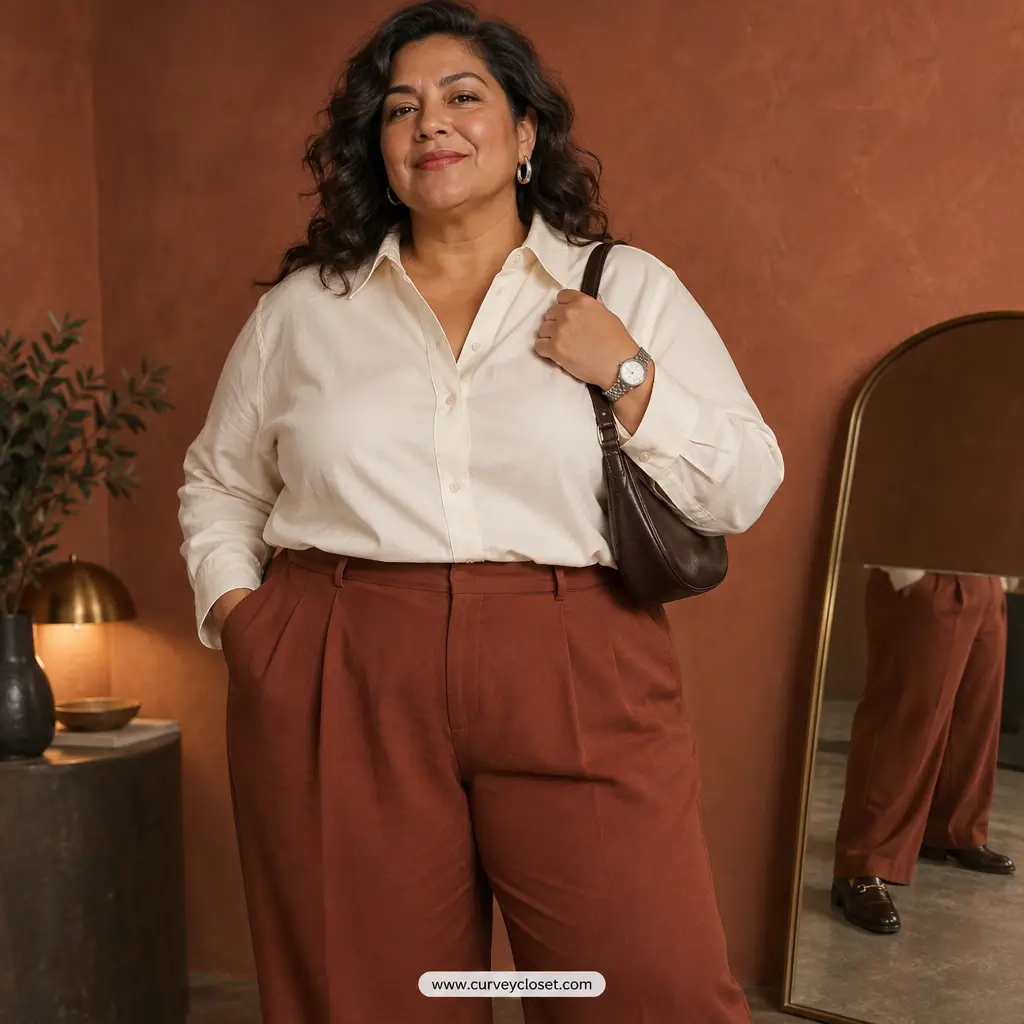
Do: Fasten each cuff and check comfort with your wrist bent, including any watch you normally wear. Don't: Move the cuff button inward until the cuff grips your wrist or use cuff tightness to compensate for excessive sleeve length.
A small button adjustment can fine-tune circumference when there is enough overlap, but it cannot fix every cuff problem. Check both wrists because your watch may change the space needed on one side. If sleeves are too long, ask how shortening will affect the sleeve placket before choosing where fabric should be removed.
How to wear it: Wear your everyday watch to the fitting and test the closed cuff while reaching for your bag.
6.Hem Length: Test Your Preferred Styling
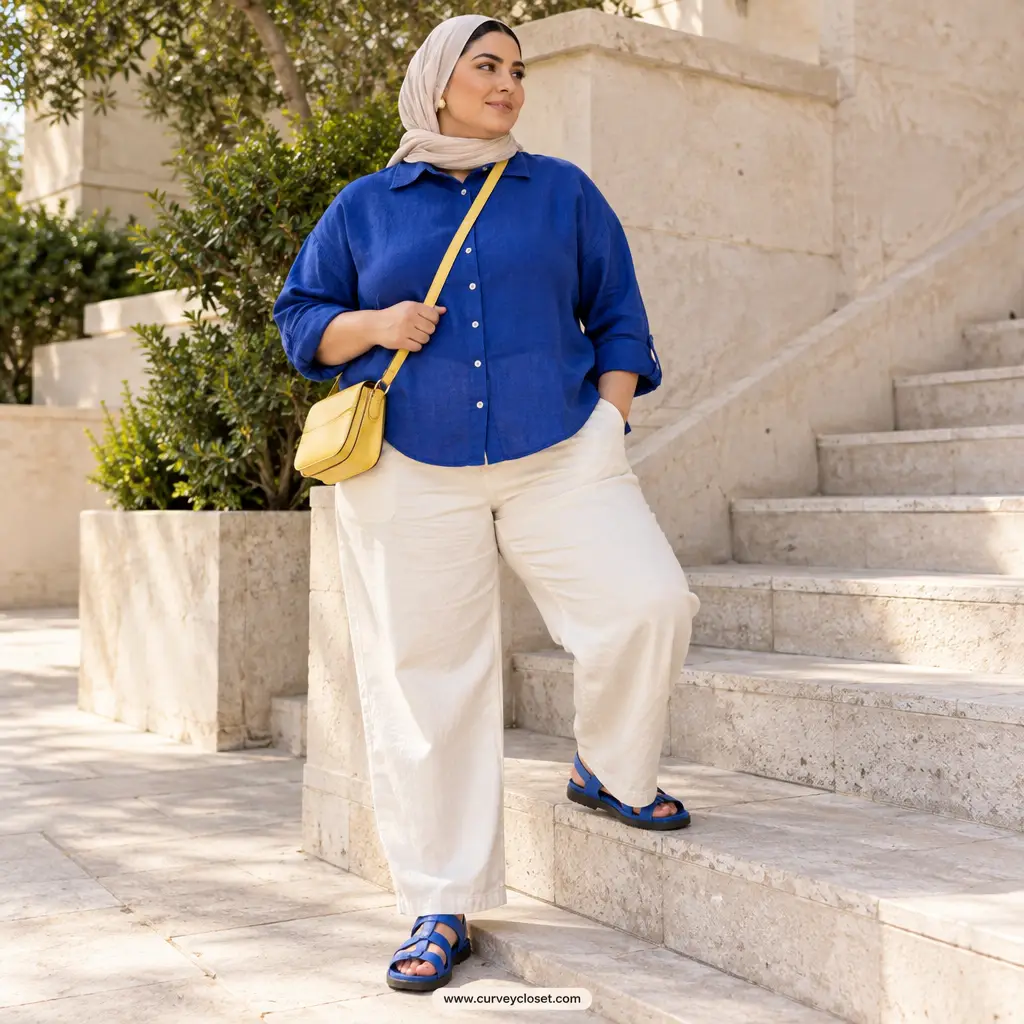
Do: Pin the proposed hem and check it standing, seated and with your arms raised before cutting. Don't: Shorten the shirt based only on a standing mirror view or remove length needed for your preferred tuck.
An untucked hem can finish wherever you enjoy its proportions, provided it lets you move comfortably. For tucked styling, keep enough length to stay anchored when you reach. A tailor should also check the lowest button, curved side edges and any side slits before shortening, since these details influence how neatly the new hem can be finished.
How to wear it: Pin the hem with your most-worn trouser rise, then try a full tuck, a front tuck and an untucked finish.
7.Fabric and Care: Settle the Cloth Before Altering
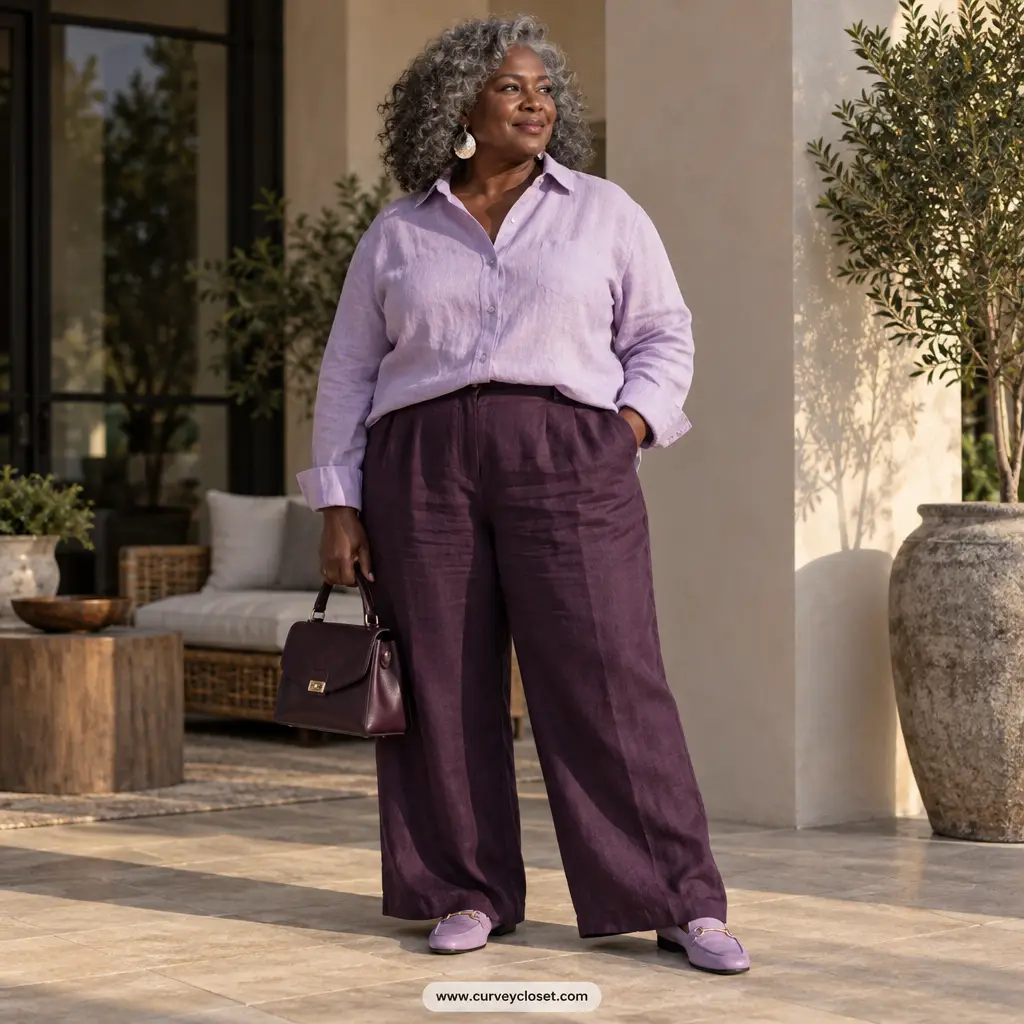
Do: Follow the care label before the final fitting, laundering washable shirts as you intend to maintain them. Don't: Tailor an unwashed washable shirt to a precise fit, assume stretch replaces ease or press every fabric on high heat.
Some fabrics change dimensions after washing, so settling the cloth first helps avoid an unexpectedly shorter sleeve or tighter body. Tell the tailor how you care for the shirt, and check that interfacings and trims tolerate that routine. For dry-clean-only garments, discuss preparation with the cleaner or tailor rather than washing them yourself.
How to wear it: Choose an opaque cotton-linen shirt for a textured look, and press it using the care label's recommended setting.
The takeaway
Start with comfortable bust room and a shoulder construction you enjoy, then assess the smaller details. Test every proposed alteration while sitting and moving before anything is cut. Good tailoring preserves your chosen silhouette and makes a button-front shirt feel more like yours.
Get outfit ideas from your own closet
Curvy Closet picks a daily outfit from the clothes you already own.
Learn moreShare counts include shares made with the buttons on this page. Images are AI-generated illustrations.